작성일 : 2001.7.7
아래 글은 날개달린차(http://www.wingscar.net)에 올린 글임
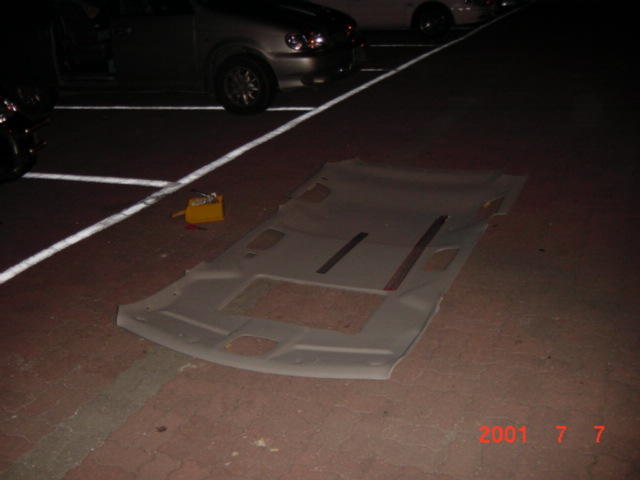
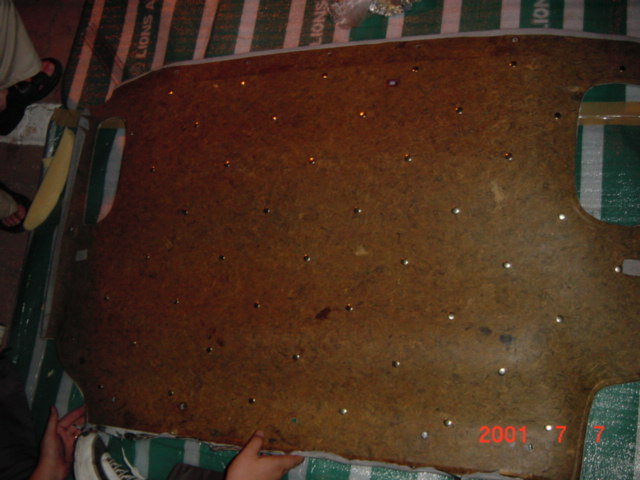
먼저 천정을 분해해 놓습니다.
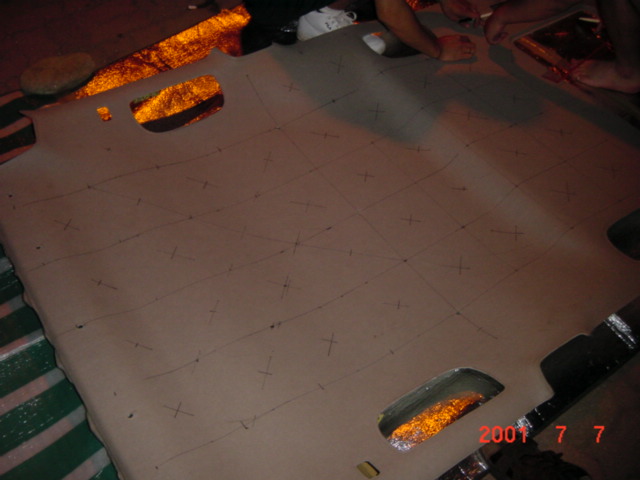
정 중앙으로 중심선을 떡하니 긋습니다.
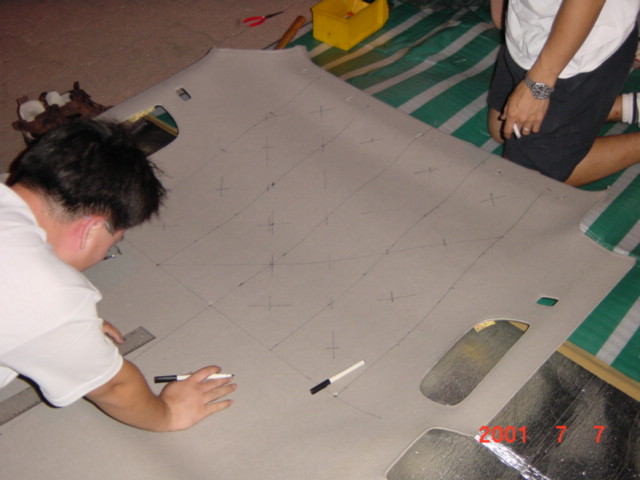
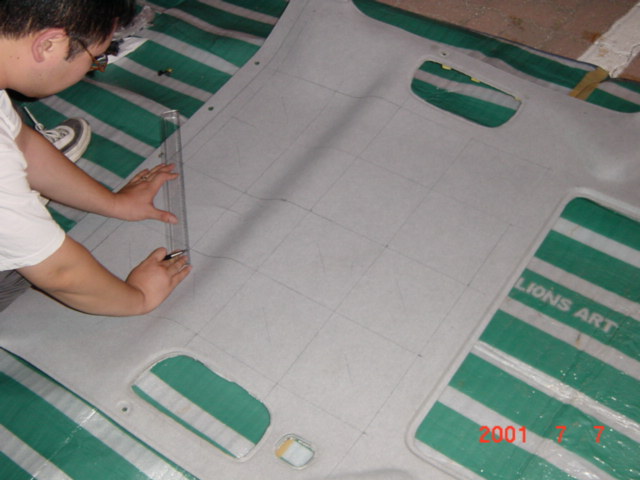
단추가 들어갈 부위에 배꼽표시(*)를 합니다.

사진 보시고 잘 따라 하세요.

요건 밀카나 카2가 아닌 구형 니발이들(두조각으로 된 니발이)의 천정입니다.
굴곡이 있느 곳도 잘 표시를 합니다.
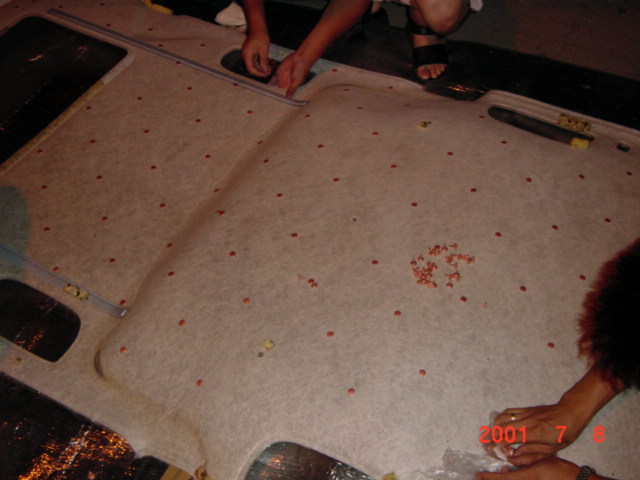
배꼽표시가 모두 끝난 천정(카2)
아직도 하고 있는 구형니발이
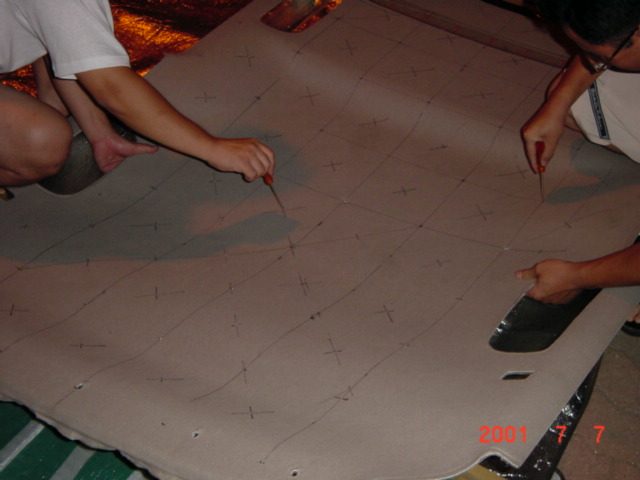
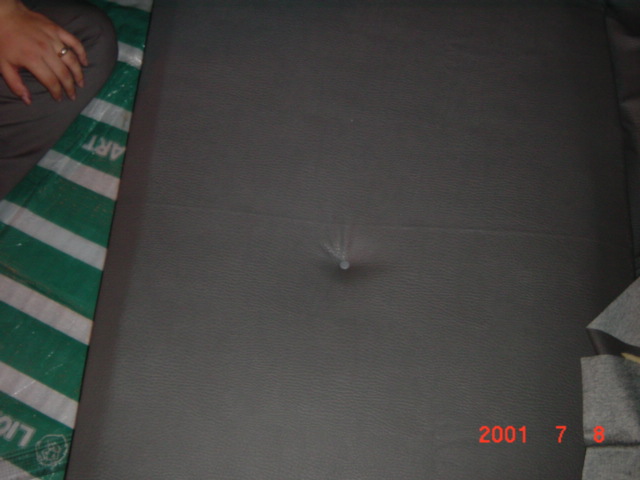
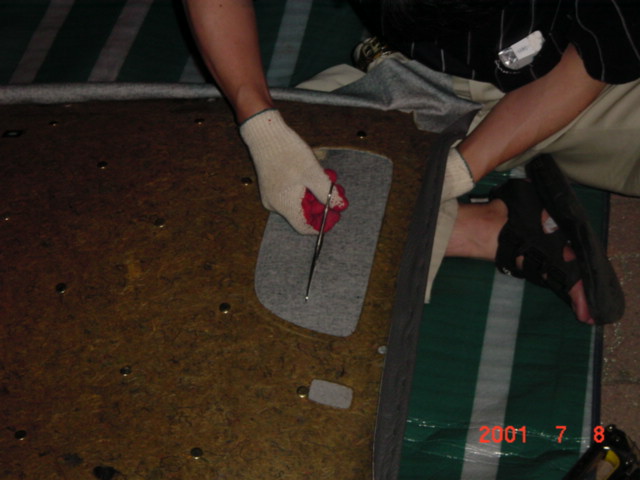
배꼽 표시한곳을 송곳으로 뚫습니다.
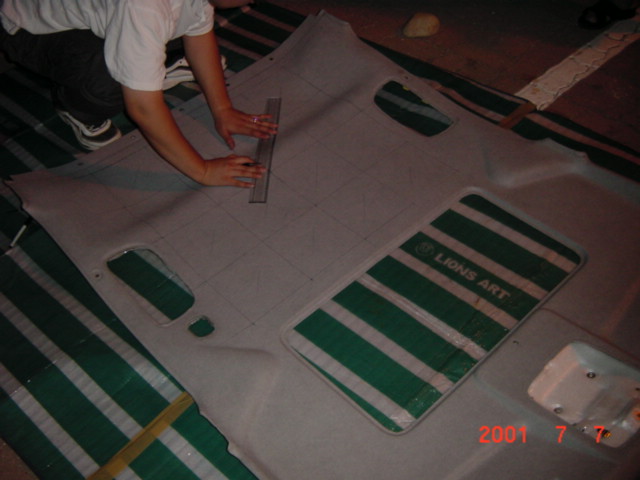
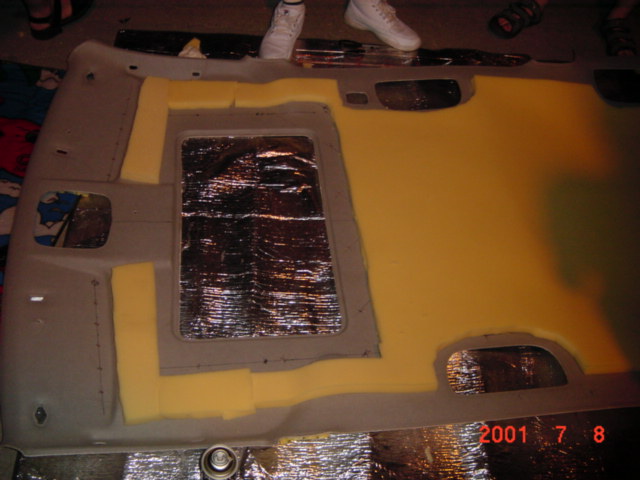
스폰지를 대고 실내등이나 스위치 부분등을 잘라냅니다.
구멍을 모두 뚫은 천정을 뒤집어서 단추 숫놈을 끼웁니다.
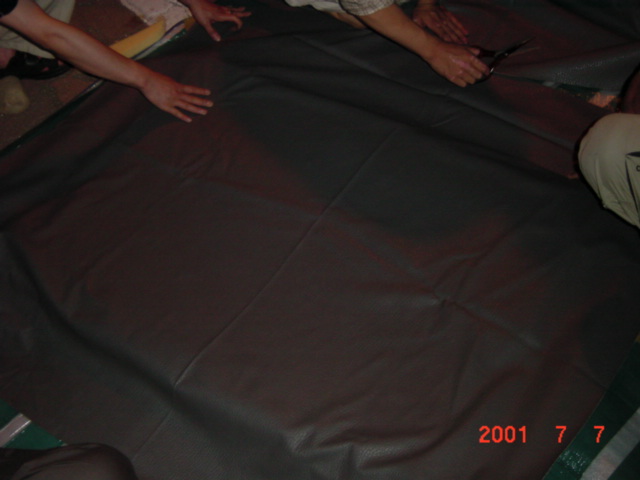
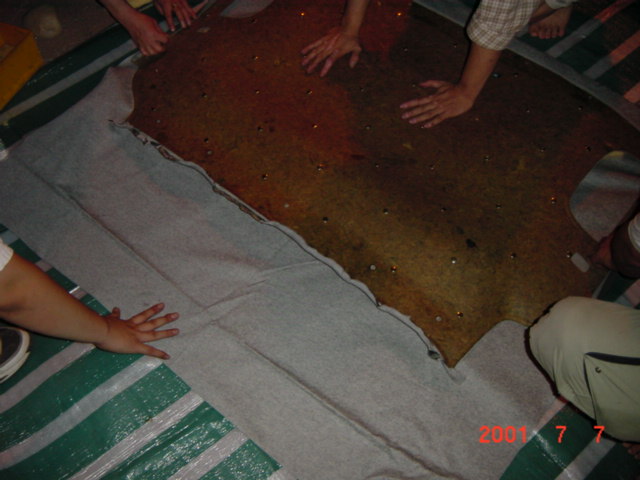
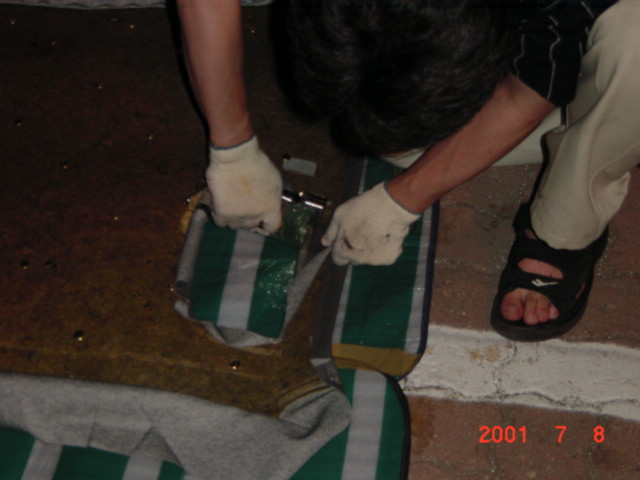
다시 뒤집어서 레쟈를 씌웁니다.
뒷판에는 여유있게 자릅니다.
테두리를 타카로 작업시작!
타카작업이 끝나고 중앙에 단추 암놈을 끼우고 망치로 살짝 두드리면 모양이 나오기 시작합니다.
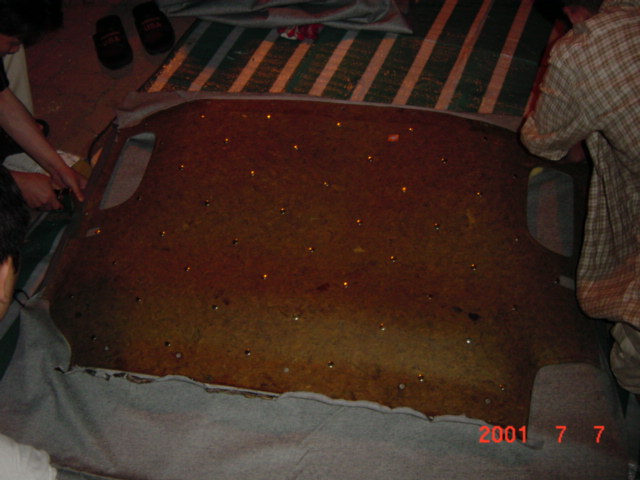
카2는 아직도 단추 끼우고 있네요.
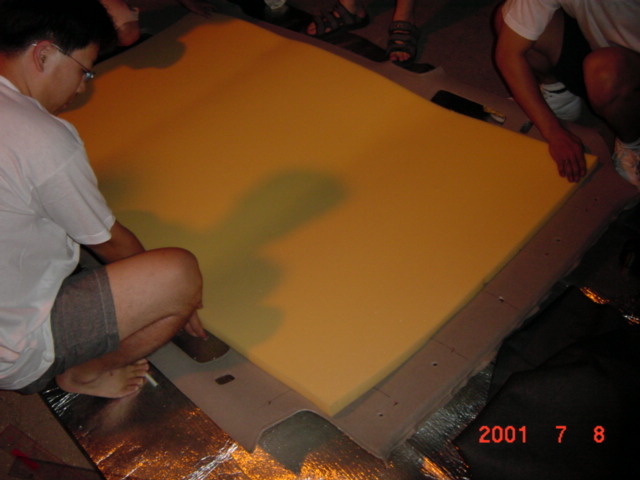
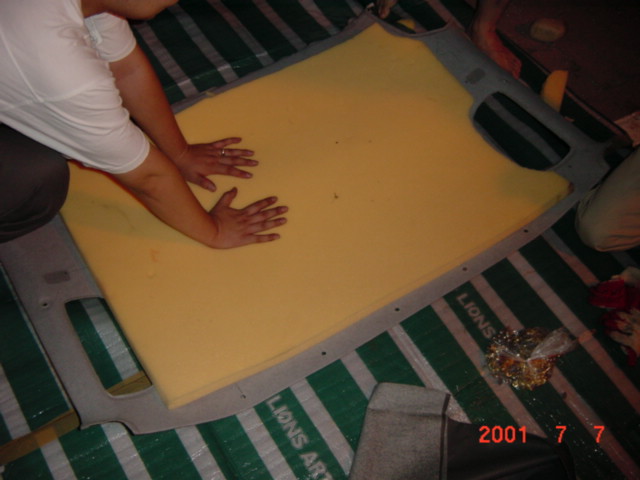
순서가 바뀌었지만 카2에 스폰지를 대는 모습
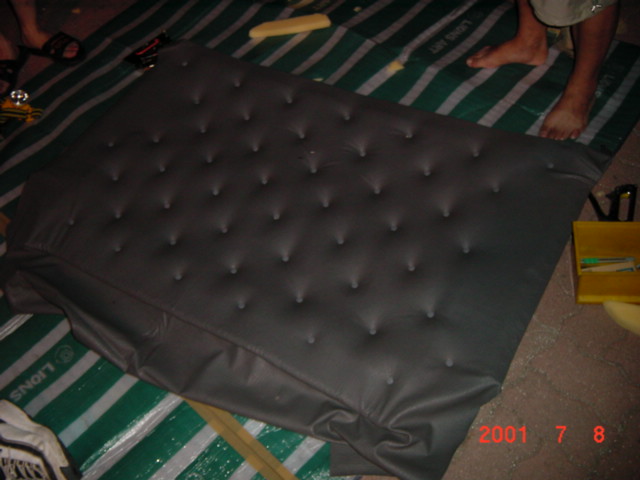
구형니발이의 뒷판 완성된 모습
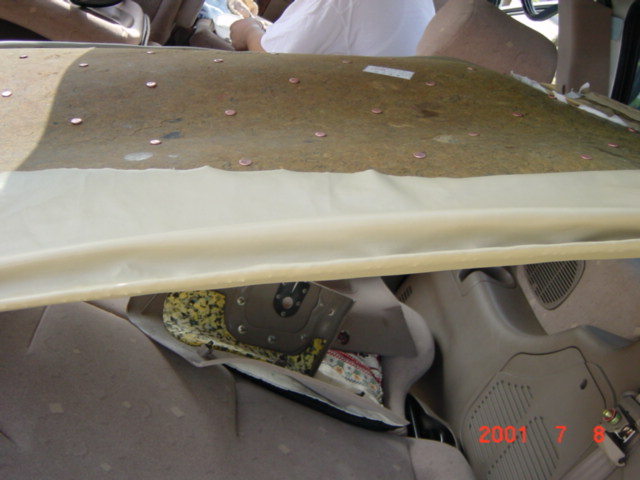
뒷좌석 풍량조절스위치가 있는 테두리 부분이 아주 종요하다고 강조하시네요. 허빵님이...
윗사진의 테두리 금속을 빼내서 레자가 들어간후에도 끼울수 있도록 약간 벌려줍니다.
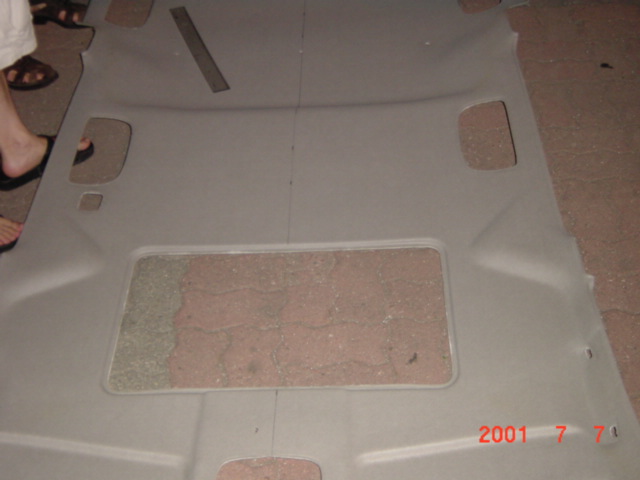
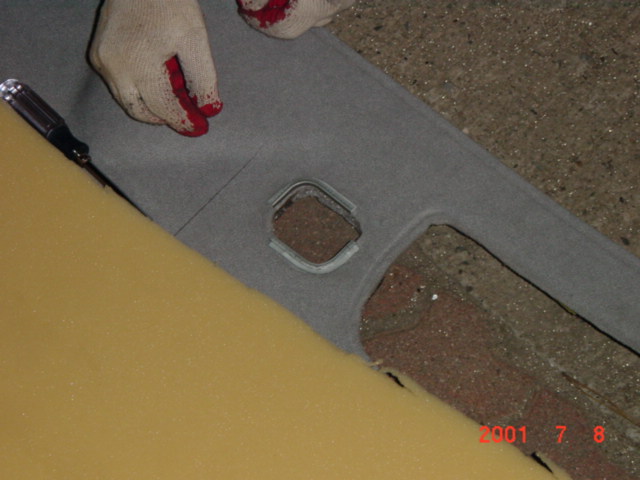
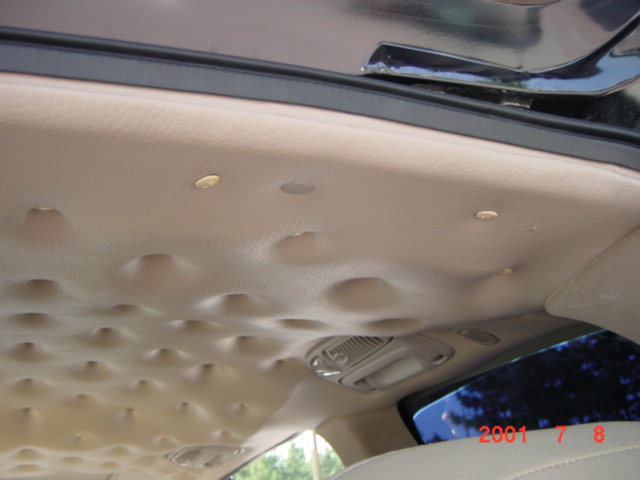
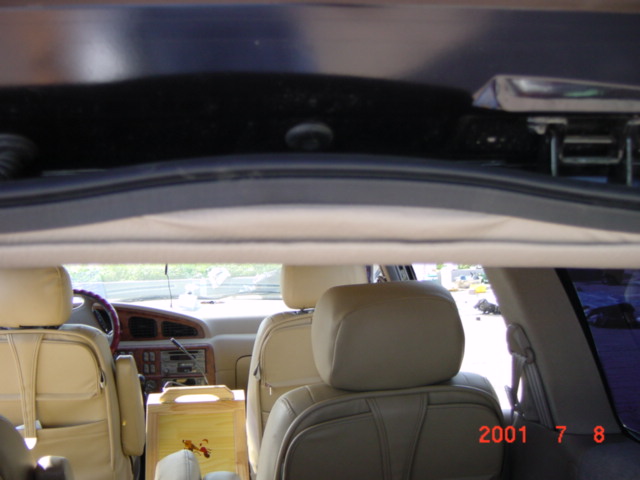
썬루프 주위 ---- 자세히 보세요.
실내등이 들어가는 자리는 뒤집어서 레자를 자른후에 잘 당겨서 타카로 고정합니다.
실내등이 들어갈 자리를 요렇게 중간부터 자릅니다.
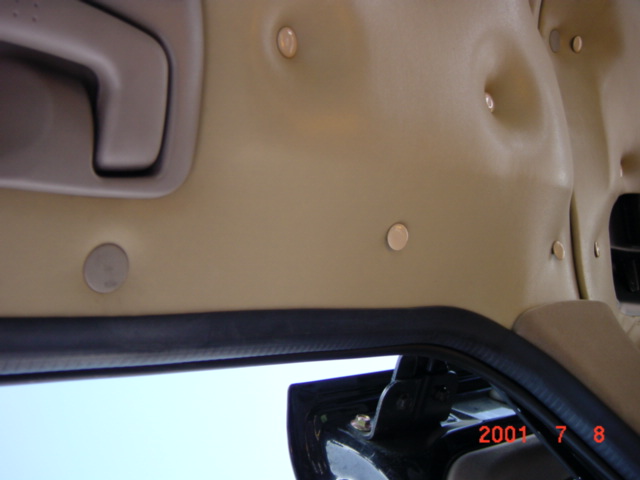
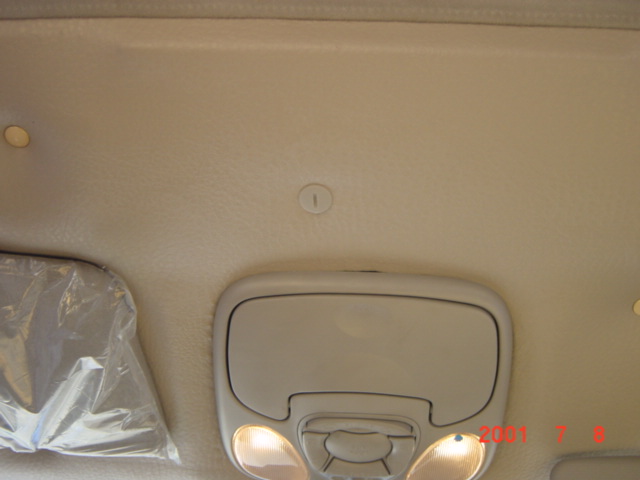
잘 보세요.여기가 레자 단추 말고 천정고정핀이 들어가는 위치입니다.
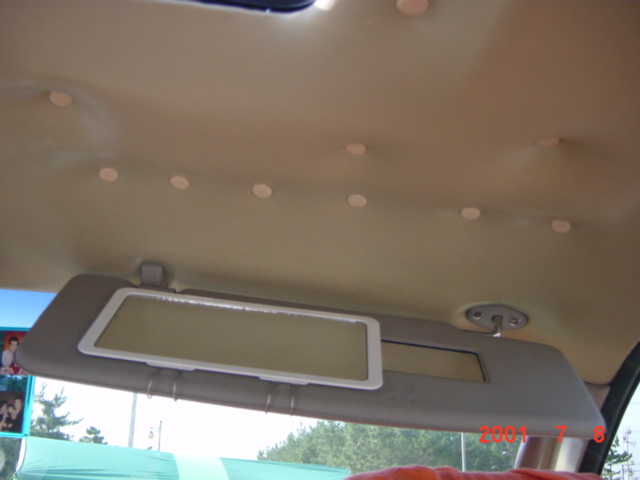
선바이져 부분을 스펀지를 넣지 않고 단추를 촘촘히 박습니다.
여기도 천정고정핀이 들어가는 위치입니다.
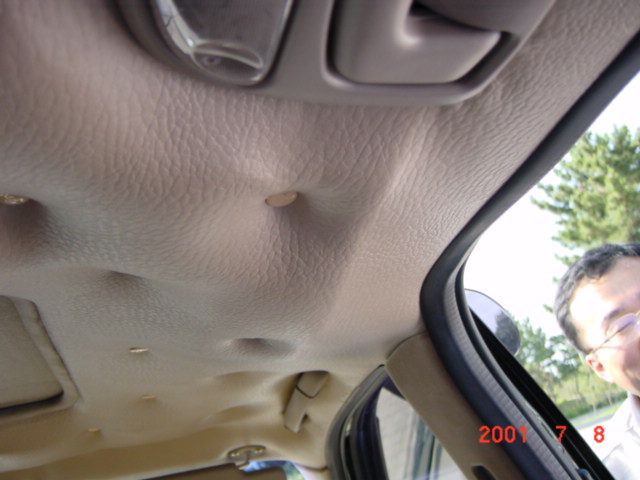
여기는 옷걸이가 들어가는 부분
잃어 버리기 쉬운 선루프 수동조작구 커버
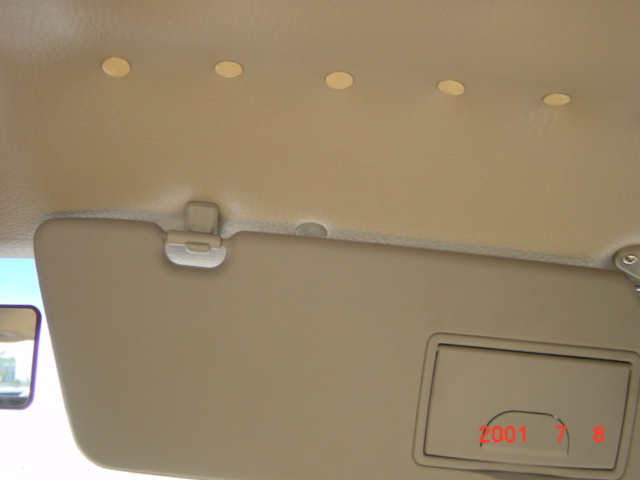
운전석 선바이져 뒷부분입니다.
여기도 천정고정핀 자리
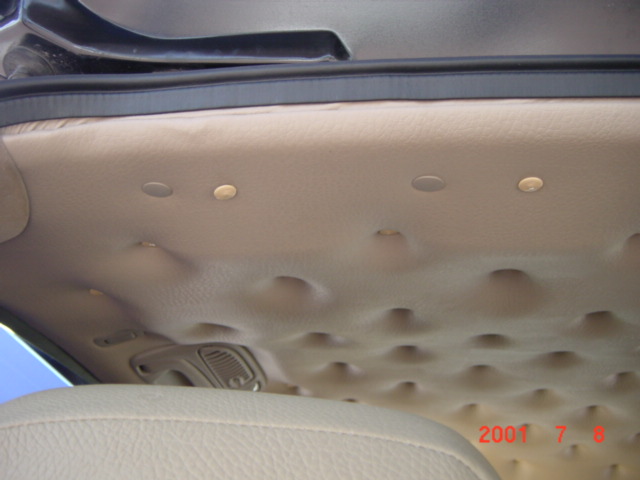
여기도...
진한 회색 단추가 천정고정용 핀입니다.
뒷판의 뒷부분 레쟈를 길게 자른 이유가 트렁크 테두리 고무 부분에 끼워서 혹시라도 물이 들어가는 일이 없도록 방지하기 위함이랍니다.

